If you are saying your model produces a vector of length N for each pixel (holding the probability of each class for that pixel), then you are doing the right thing to select the maximum value, of course.
For the plotting, if you leave the image in 128x128, your output will simply be gray-scale and if you are plotting the raw maximum values you took from each vector, I imagine the image will be very noisy.
You need to map the class of each pixel to a predefined colour mapping. For example, if you have the classes: tree, car, building, sky, you should decide on a colour for each of those. For example, specify a dictionary mapping each class to a colour:
colour_mappings = {
    'tree': (255, 255, 255)   # white
    'car': (255, 0, 0)        # red
    'building': (0, 255, 0)   # green
    'sky': (0, 0, 255)        # blue
    }
No when you have the output matrix of size 128x128, you can use filtering to replace each of your classified pixels to the colour you put in the mapping above.
Example
I use the colour mapping above along with a simulated matrix of pixel classification results (for simplicity just 5x5, not 128x128), which is randomly filled with values from [0, 1, 2, 3]:
classes = array([[0, 3, 3, 1, 0],
                 [2, 2, 0, 3, 2],
                 [3, 1, 0, 0, 1],
                 [1, 3, 2, 2, 2],
                 [1, 3, 1, 2, 1]])
Now create an array with three channels, which we will fill based on our results. I just initialise it with zeros, which would be black in colour, which is ok because non of my classes in the mapping above are black (just to avoid confusion):
# initialise an empty (black) matrix to hold the image
segmented_image = np.ones((5, 5, 3))          # we require three channel dims for RGB colour
Let's say the classes above (in the same order) have the numbers 0, 1, 2, 3 - you could then fill the empty image matrix with the colours as follows.
# fill the segmented image based on the class, using your mappings
segmented_image[classes == 0] = colour_mappings['tree']
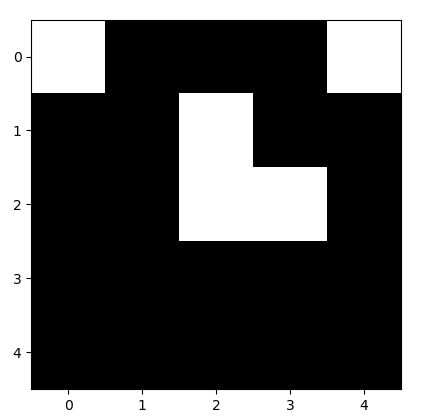
This will produce the following image, where we see all pixels from the class 'tree' now show the mapped colour, white:

Now we can do the same for the remaining classes:
segmented_image[classes == 1] = colour_mappings['car']
segmented_image[classes == 2] = colour_mappings['building']
segmented_image[classes == 3] = colour_mappings['sky']
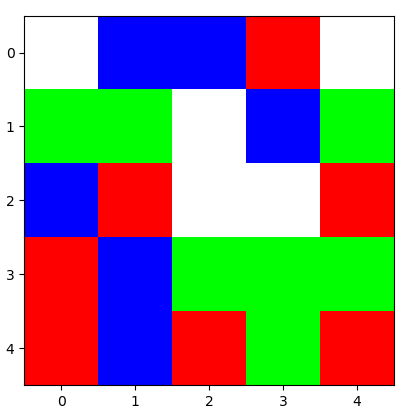
This produces the following final image:

Which can be checked against the classes matrix shown above.


